

Custom patches provide an excellent means of infusing a unique and personal element into garments, bags, hats, and other items. They are an excellent way to promote your brand, organization, or club, and they have been used for decades to showcase unity and pride. They are versatile, durable, and can be made in a variety of designs and sizes. Creating custom patches might appear intimidating initially, but armed with the appropriate tools and techniques, it can transform into an enjoyable and fulfilling do-it-yourself endeavour.
In this article, we will provide a comprehensive guide on how to make custom patches that stand out and create a lasting impression. Our step-by-step guide will cover the materials, tools, and techniques needed to design and produce custom patches that meet your unique needs.
Custom patches
Custom patches are a versatile and popular way for branding, identification, commemoration, or decoration, and they come in a wide variety of sizes, shapes, colours, and designs. There are four main types of custom patches; each made using different techniques and materials.
While the making of these different types of custom patches can vary, all follow the same steps, and the result is also the same: a patch that can be customized in terms of design, shape, colour, and size that fit your specific needs. The selection of the appropriate custom patch type frequently relies on the individual requirements of the customer and the intended purpose of the patch.
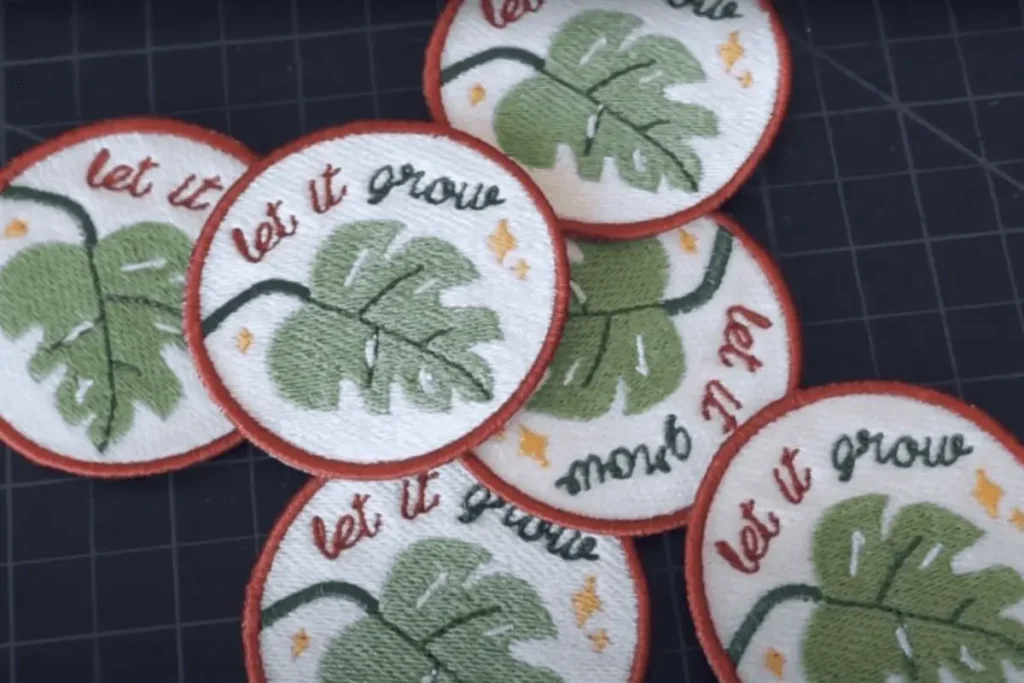
custom Embroidery Patches
Embroidered patches are the most common type of custom patch and are made using embroidery techniques that sew the design directly onto a base fabric. The result is a thick, textured patch that can feature intricate details and shading. Embroidered patches are often used for logos, crests, and other designs that require a classic, high-quality look. They can be made in a wide variety of shapes and sizes and offer a range of customization options, including thread colours, backing materials, and special features like metallic thread or 3D designs.
How to make custom embroidered patches
material required
Designing Your Patch
Before you start making your patch, you need to design it. You can use a variety of tools to create your design, such as software programs, sketchbooks, or even hand-drawn sketches. Make sure your design is clear, easy to read, and will fit onto your patch.
Transferring the Design
After finalizing your design, the next step involves transferring it onto the fabric. To transfer your design onto the fabric, you can use a pencil or a fabric pen to carefully trace the design onto the surface. Another way is to print your design onto a water-soluble stabilizer and then stick it onto your fabric.
Embroidering Your Patch
Now it’s time to embroider your patch. Place your fabric into an embroidery hoop and use your embroidery needle and thread to stitch your design onto the fabric. Make sure to follow your design carefully and use the right colours of thread.
Cutting Out Your Patch
Once you have finished embroidering your patch, it’s time to cut it out. Utilize a pair of scissors to meticulously cut along the edges of your design, ensuring to leave a slight border around its perimeter.
Finishing Touches
To make sure your patch is durable and will last, you need to add some finishing touches. One way to do this is to apply a thin layer of iron-on adhesive to the back of your patch. This will help keep your patch in place and prevent it from fraying.
Ironing Your Patch
To attach your patch to your clothing or accessory, you can either iron or sew it on. To apply the patch, position it onto the desired area of the fabric and place a thin cloth over it. Apply firm pressure with a hot iron for approximately 20-30 seconds, adhering to the instructions provided with your iron-on adhesive for optimal outcomes.
custom Woven Patches
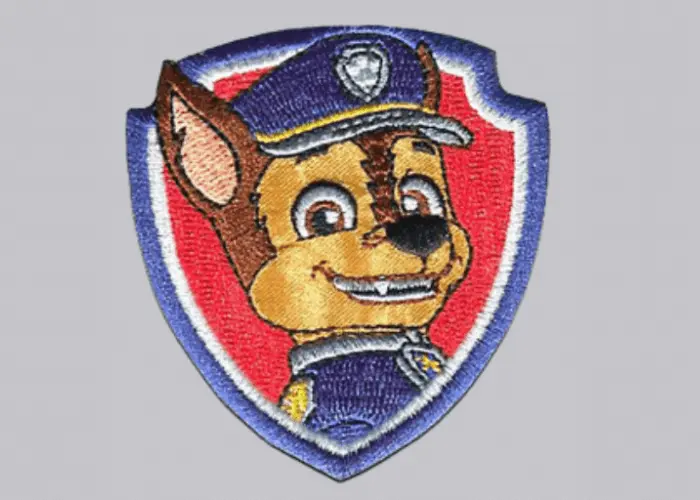
Woven patches are made using a weaving process that creates a thinner and more detailed design than embroidered patches. The design is woven directly into the patch using a loom rather than sewn onto a base fabric. Woven patches are often used for designs that require a high level of detail or small text. They can be made in a wide variety of shapes and sizes and offer a range of customization options, including thread colours and backing materials.

How to make custom woven patches
material required
Woven patches are made using a computerized weaving machine that creates the design by weaving together threads of different colours. The threads are woven together in a tight pattern that creates a high level of detail and clarity. Once the design is complete, the patch is cut to size and shape using a laser or other cutting tool, and backing material is added to provide stability and durability.
Customization Options
Woven patches can be customized in a variety of ways to suit the needs of the customer. Thread colours can be matched to specific logos or designs, and metallic or glow-in-the-dark thread can be used for added effect. Backing materials can be chosen for their durability, with options including iron-on, adhesive, or sew-on backings.
custom PVC Patches
PVC patches are a popular choice for military, law enforcement, and other organizations because they are durable, waterproof, and long-lasting. These patches are created from PVC material, making them highly durable and suitable for various environments. They are also a great option for individuals who want to create a unique and personalized patch with a unique, three-dimensional(3D) design. The molding process used to create PVC patches allows for intricate details and designs that may not be possible with other patch types.
Furthermore, PVC patches are renowned for their exceptional durability and flexibility, which makes them a perfect choice for applications in outdoor or demanding environments. While the production process for PVC patches is different than that of embroidered, woven, or printed patches, they can still be easily attached to fabric using a strong adhesive or by sewing around the edges.

How to make custom PVC patches
material needed
For making PVC patches, the design is first created and made into a mold. Subsequently, the mold is filled with liquid PVC material and left to undergo the curing process. After curing, the patch is extracted from the mold and trimmed to achieve the desired shape. The design is molded directly onto the patch rather than sewn or woven. The PVC patch can be customized with additional features such as 3D text, velcro backing, or glow-in-the-dark material.
Customization options
PVC patches can be customized in a variety of ways to create a unique and personalized patch. Customization options include choosing the shape, size, and colour of the patch, as well as adding 3D text or graphics. Additional customization options include adding a velcro backing or a glow-in-the-dark feature to make the patch more versatile and visible. With a variety of customization options available, PVC patches are a great way to create a unique and personalized patch.
custom Printed Patches
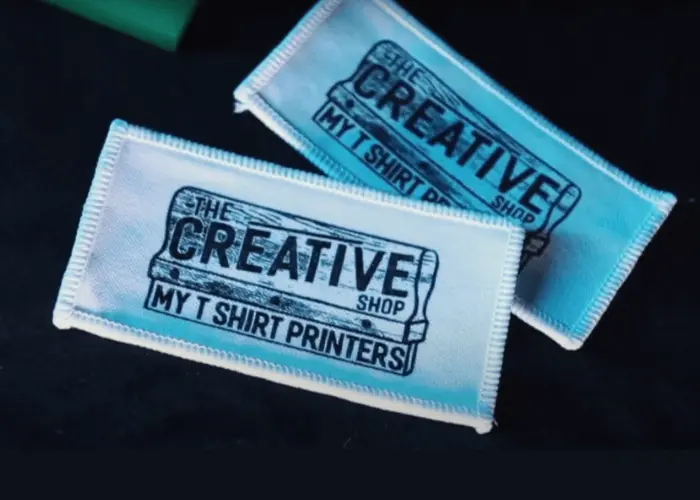
Printed patches are a great option for those looking to create a high-quality patch with intricate details and vibrant colours. They are often made using a dye sublimation printing process, which allows for full-colour printing and fine detail.
How to make custom-printed patches
material required
In producing a printed patch, the initial step involves printing the design onto specialized paper using a dye sublimation printer. Subsequently, the printed paper is positioned onto the fabric, and heat is applied, facilitating ink transfer from the paper onto the fabric. Once the ink is transferred, the patch can be cut to the desired shape and finished with additional features such as a merrowed border or a velcro backing.
Customization options
Printed patches can be customized in a variety of ways to create a unique and personalized patch. Customization options include choosing the shape, size, and colour of the patch and adding additional features such as a merrowed border or a velcro backing. The dye sublimation process also allows for full-colour printing and fine detail, which makes it possible to create patches with intricate designs and vibrant colours.
patch making tips & tricks
Conclusion
Crafting custom patches is an enjoyable and fulfilling do-it-yourself project that empowers you to infuse a personal touch into your clothing, bags, hats, and other items. With the right tools and techniques, you can create unique and durable patches lasting for years. Follow our guide on how to make your custom patches and enjoy the process!