


Sewn-on Patches
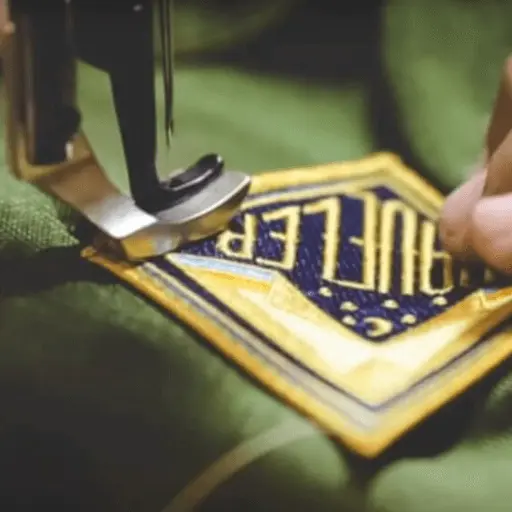
Sewn-on patches are decorative patches attached to garments by sewing them onto the fabric using needle and thread. These patches come in various shapes, sizes, and designs, commonly made of embroidered fabric or woven materials. Sewn-on patches serve as a means of personal expression, identification, or promotion.
Common Applications
Sewn-on patches are widely used in different contexts, including:
How to remove sewn-on patches step-by-step guide
Tools & Materials Needed
Before you begin removing a sewn-on patch, gather the following tools and materials:
Preparing the Garment
Lay the garment on a flat surface, ensuring the area with the patch is easily accessible. If the garment is delicate or requires special care, consider following any specific instructions provided by the manufacturer.
Identifying the Stitching
Examine the patch and identify the stitches used to attach it to the fabric. Typically, the stitching will be visible on the front or back of the garment. Look for a series of small, tight stitches securing the patch.
Removing the Thread
Carefully insert the seam ripper under a stitch and gently push the blade against the thread until it cuts through. Repeat this process for each stitch, being cautious not to damage the fabric. Use the tweezers to pull out the thread remnants once the stitches are cut.
Removing Residual Threads
After removing the primary stitching, you may notice small residual threads or fragments left behind. Use the tweezers to remove these remnants, ensuring a clean surface.
Handling Stubborn Patches
Some patches may have additional adhesive backing or be attached with stronger stitches. If the patch is difficult to remove, try using the seam ripper to carefully cut any adhesive threads or gently pry the patch away from the fabric. Take your time to avoid damaging the garment.
Ironing the Fabric (Optional)
If the fabric has creases or indentations from the removed patch, you can use a household iron to gently press the area. Place a thin cloth over the fabric and iron it on low heat, following the garment’s care instructions. Ironing the fabric can help smooth out any creases or indentations. This will help the fabric to restore its original appearance. However, it’s important to follow the garment’s care instructions and use low heat to avoid damaging the fabric. Ironing is optional and should be done cautiously to prevent potential harm.
Apply Adhesive Remover (Optional)
If adhesive residue persists on the fabric following patch removal, put a little adhesive remover on a clean cloth or cotton ball. Dab the affected area gently, allowing the remover to dissolve the residue. Follow the product instructions carefully to avoid any potential damage to the fabric.
Reattaching the Patch (Optional)
If you plan to reuse the patch or reattach it to the same or a different garment, carefully align it on the desired spot. Select a needle and thread that complement the color of the garment to securely reattach the patch.
How to Remove sew-on patches Using a Knife

I would like to emphasize that using a knife to remove sewn-on patches is not recommended, as it carries a higher risk of damaging the fabric compared to using a seam ripper. However, if you find yourself without a seam ripper, you can follow these steps with caution:
Tips and Precautions
How to remove sewn-on patches safely, keep the following tips in mind:
final comments
Removing sewn-on patches can be straightforward when done with care and the right tools. By following the steps mentioned in this article on how to remove sew-on patches, you can effectively remove sewn-on patches from your garments while minimizing the risk of damage. Remember to exercise patience and caution, and consider the optional steps such as ironing and using adhesive remover based on your specific needs.