How to sew a patch onto anything easily

Sewing patches onto garments or accessories is a popular method to customize and add elegance to your items. Whether you want to add a pop of color, display your favorite band’s logo, or repair a tear, knowing how to sew on a patch can come in handy. It presents a chance to express your style and interests. This versatile and easy-to-learn technique requires minimal supplies, making it suitable for beginners.
Following a few basic steps and using some basic sewing supplies, you can confidently attach patches to your garments, giving them a unique and personalized touch. In this guide, we will walk you through the step-by-step process of sewing on a patch, enabling you to unleash your creativity and transform your clothes into one-of-a-kind fashion statements.
sew-on patch

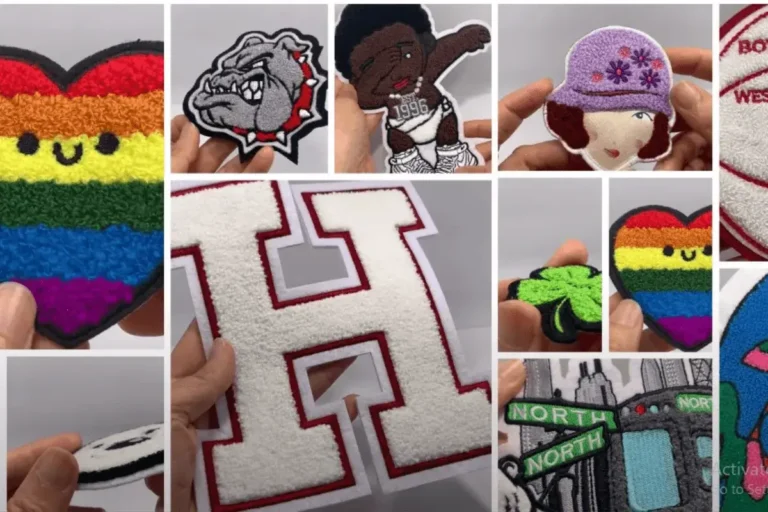
A sew-on patch is a small piece of fabric, often embroidered or printed with a design or logo, that can be sewn or ironed onto clothing or other textiles. A patch refers to a fabric segment used for covering or decorating specific areas of garments or accessories. Sew-on patches come in various shapes, sizes, and designs, and they can be made of different materials, such as woven fabric, embroidered fabric, or even leather. You can create different styles or designs based on how you sew on your patch.
Patches are often used to add personalization, style, or a decorative element to clothing items such as jackets, jeans, backpacks, or hats. They can feature logos, emblems, symbols, or artistic designs, allowing individuals to express their interests, affiliations, or creativity. Patches can also serve practical purposes, such as covering holes or reinforcing worn-out garment areas. Overall, patches provide a versatile and customizable way to enhance and individualize your clothing or accessories.
Types of sew-on patches
There are different types of sew-on patches available, each with its unique characteristics. Some common types include:

Embroidered patches
These patches are crafted through the art of stitching detailed designs onto a fabric base. They offer a textured and visually appealing look. Read more.

Woven patches
These patches are skillfully created by intertwining threads, resulting in a beautifully formed design. They offer a smooth and detailed appearance. Read more.
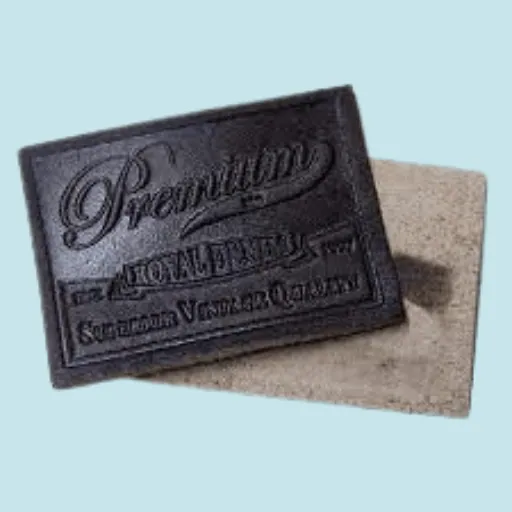
Leather patches
These patches feature beautiful, durable embellishments that are sewn onto fabric items, adding sophistication and timeless style. Read more.
How to sew on a patch by hand
Sewing patches by hand is a simple and rewarding task. Here’s a step-by-step guide on how to sew on patches by hand.
Tools and materials
Before you start sewing on a patch, gather the necessary tools and materials. Here’s what you’ll need:

Prepare the fabric
To ensure a successful patch application, prepare the fabric by following these steps:
Secure the patch
Once you have determined the patch’s placement, it’s time to secure it to the fabric:
Finishing touches
After securing the patch, it’s time to give your work a polished look:
Sewing techniques
How to sew on a patch: You can employ various sewing techniques to achieve different effects. Here are a few techniques you can experiment with.

Whip Stitch
This technique involves sewing through the edge of the patch and the fabric in a diagonal motion. It creates a visible stitched border around the patch.
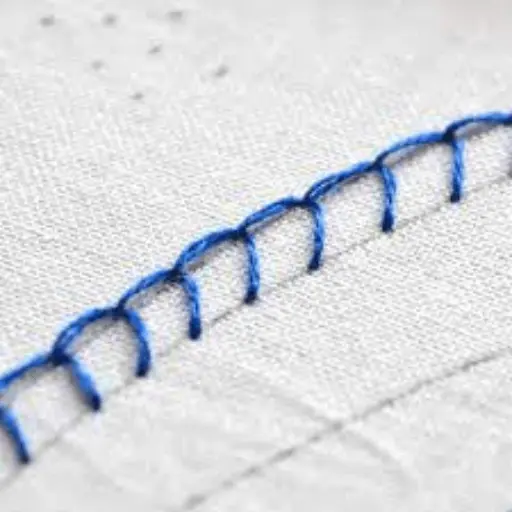
Blanket Stitch
The blanket stitch is commonly used to secure patches. It creates a decorative, scalloped edge around the patch, adding a touch of craftsmanship.

Running Stitch
This simple and quick stitch involves making straight, evenly spaced stitches through the patch and fabric. It is ideal for patches that require less visibility of stitches.
Alternative methods
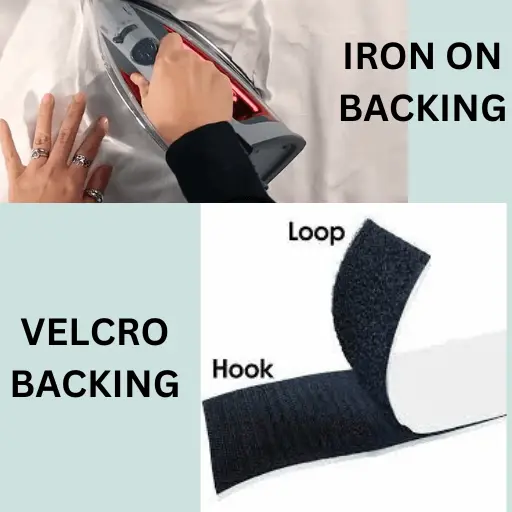
While sewing is a popular method for attaching patches, there are alternative methods you can explore, such as using an iron-on method or velcro backing. If you’re looking for instructions on how to sew on a patch, you can employ various sewing techniques to achieve different effects.
Iron-on method
If your patch has a heat-activated adhesive backing, apply it using an iron. Adhere to the instructions given with the patch for proper attachment.
Velcro attachment
Attach hook and loop fasteners, commonly known as Velcro, to both the patch and the item. This allows for easy removal and interchangeability of patches.
patch sewing Troubleshooting tips
If you encounter any issues while sewing on a patch, here are a few troubleshooting tips:
Patch care
To ensure the longevity of your patched item, follow these care tips:
Benefits of sewing on a patch

There are several benefits to sewing on a patch:
Remember, the benefits of sewing on a patch depend on your personal preferences and the context in which you use them. Whether it’s for style, practicality, or sentimental reasons, patches offer a range of advantages for customization and personal expression. You can create different styles or designs based on how you sew on your patch. The placement, stitching pattern, and thread color can all contribute to the overall look and feel, allowing you to truly make the patch your own.
Final comments
Sewing on a patch allows you to express your creativity and individuality while adding a personal touch to your garments or accessories. How to sew on patches may seem difficult, but by adhering to the detailed step-by-step instructions provided in this article, you can confidently attach patches and showcase your unique style. Remember to choose the right thread and needle, position your patch carefully, and secure it with strong and neat stitches. Take your time and pay attention to detail, ensuring that your patch is securely attached and looks visually appealing. Don’t be afraid to experiment with different patch placements and patterns to build a distinctive and eye-catching look.
Enjoy expressing yourself through the art of patch sewing!
